This year, I took a really fun class with Lynda Faires called "Crazy Nines". You basically start with largish squares (10" is a nice manageable size) of 9 different but compatible fabrics and you end up with 9 blocks of about the same size as the original. Each square is a wonky 9 patch, with 1/2" sashing strips and contains each of the nine fabrics.
 |
| Block mocked up in EQ7 and colored using JPEGS of fabrics |
 |
| Back of the real thing. Note that the sashing adds back the seam allowances, so things fit together and end up about the same size as the original. |
 |
| Top mocked up in EQ7. |
 |
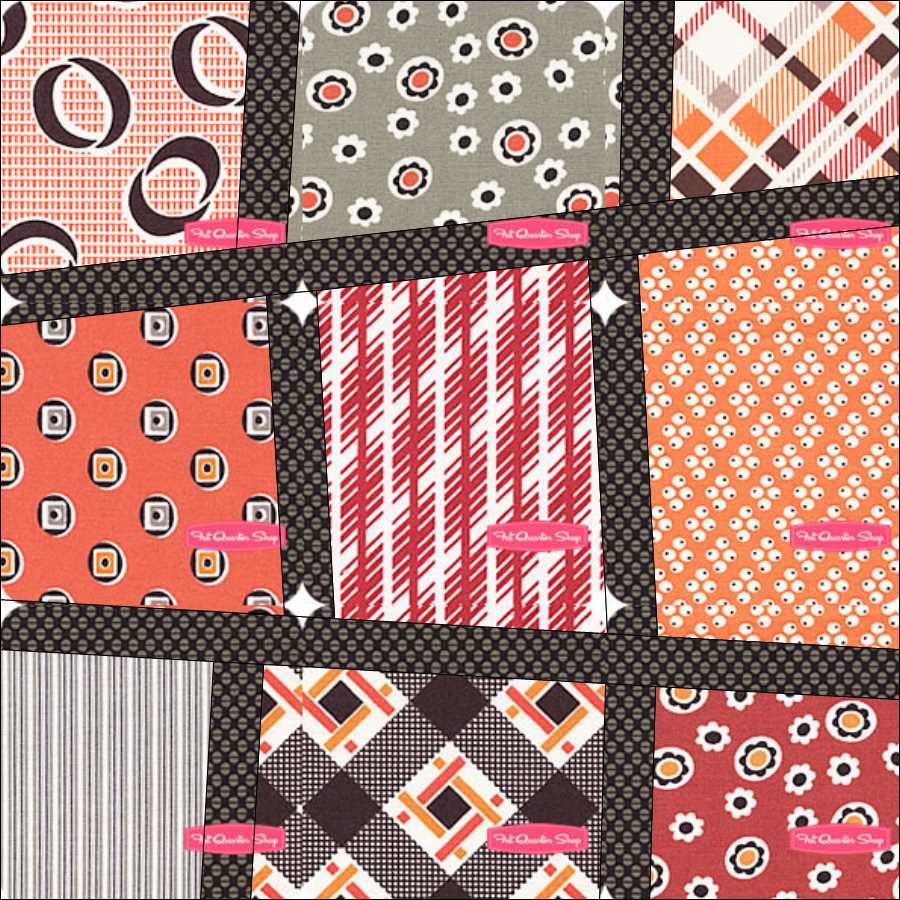
| Finished top before layering and quilting. |
There are lots of possible options for fabrics. One of the other students in the class used a gorgeous collection of Marcia Derse fabrics. I don't normally make a whole quilt from fabrics from a single line or designer, but for this project, going with a collection seemed like a quick and low stress way to get a nice selection. Layer-cakes are perfect for this type of quilt. I bought one layer-cake of Denyse Schmidt's "Florence" and separated it into orange and turquoise colorways. I've made the orange version and I have enough "layers" left to make a second turquoise version.
 |
| Left-over turquoise/green "layers" of the cake will be enough to make a second quilt. |
Thanks for reading (comments welcome) and Best Wishes for the Holidays,
Susan
Addendum -- finished quilting and binding. I used BottomLine in the bobbin. First, I tried Invisifil, which is very thin and nearly invisible but softer than monopoly, but kept getting snags and breaks -- especially with free motion. When my frustration meter max'ed out at "EXTREME -- ready to throw something heavy!", I switched to a neutral shade of BottomLine to blend into the top and finished with no further problems. The binding is a cute orange pin-stripe, just like in the mock up. I used my new favorite technique -- glue basting the folded edge to the back (just past the stitching line) and then stitching in the ditch on the front which catches about 1/6-1/8 inch of the fold on the back. This is not as beautiful as hand finishing, but looks quite nice if you take you time on the glue basting and is very fast.
Cheers,
Susan